
The first thing that hits you is the smell. Not the warm, promising aroma of bread or roasted vegetables, but that faint, bitter memory of a hundred dinners past—the burnt cheese that bubbled over the edge of a lasagna dish last winter, the splattered chicken fat from a rushed weekday roast, the sugary fruit pie that boiled over like lava. One day you switch on the oven, the heating elements glow orange, and suddenly your kitchen fills with a smoky, vaguely accusatory haze. That’s when you remember: you still haven’t cleaned the oven. Again.
The Quiet Guilt Lurking Behind the Oven Door
We don’t like to talk about our ovens. Not really. We show off the sourdough on the countertop, the jars of beans lined like soldiers along a shelf, the basket of perfect lemons. But the oven door? That’s something else. You open it only as wide as you must, slip a pan in, and close it quickly—like pulling a curtain over a messy room when guests arrive.
Part of the problem is the story we’ve been told about what “counts” as cleaning. The internet is rich with advice that sounds wholesome and manageable, until you’re standing there with a scouring pad, your knees aching on the kitchen tiles, your sleeves pushed up to your elbows as you scrub and scrub and scrub. Lemon and baking soda, they say. Eco-friendly, they say. But no one mentions the hour you’ll spend scraping dried paste from the corners of your oven, or the way the grease laughs in the face of your good intentions.
If you’ve ever sat back on your heels with a dull sponge in your hand, looking at a streaky, half-clean oven wall and wondering if you can just…close the door and forget about it, you’re not alone. The truth is, most of us want something that works better and demands much less from us—less scrubbing, less time, less kneeling on hard floors bargaining with the laws of physics and burnt cheese.
So let’s step away from the usual pantry heroes—no lemons, no baking soda—and walk toward two quiet, unglamorous ingredients that live on entirely different shelves. They don’t smell like a spa or promise to change your life. But together, they can leave your oven panels gleaming with almost no scrubbing at all.
The Night You Decide You’re Done Scrubbing
Picture this: it’s late, the dishes from dinner are stacked and drying, the house has slipped into that comfortable, post-meal quiet. You open the oven to let the heat escape and there it is again—those baked-on constellations of grease and caramelized sauce. You know they’re not hurting anyone, not really. But they bother you. It’s like living with a smudge on your glasses; you can see past it, but you always know it’s there.
In that moment, you face a familiar triangle of options: strong chemical oven cleaner with fumes that sting your nose, the “natural” scrub-with-all-your-might paste you’ve tried before, or total denial. None feels quite right.
Now imagine a fourth option: you spread something that looks a bit like silky lotion over the grime, walk away, make some tea, and let time do what your elbow usually does. When you return, you don’t need to attack it. You just…wipe. The grime lifts as if it’s been politely waiting for you to arrive with a cloth.
That fourth option exists, and it begins with two ingredients most of us never think to introduce to an oven.
Ingredient One: A Gentle Oil With a Secret Talent
The first ingredient isn’t acidic or abrasive. It doesn’t fizz. It doesn’t smell like citrus or a meadow after rain. It’s something you’d more likely associate with salad or sautéing: plain, neutral cooking oil.
Sunflower, canola, light olive, even that bottle of vegetable oil in the back of the cupboard—the kind you reach for without thinking. Oil may sound like the last thing you’d want near a greasy surface, but here’s the quiet chemistry at play: grease is, at its heart, made of fats. And fats know how to talk to each other.
When you spread a thin layer of oil over old, dried, stubborn grease, you’re sending in a diplomat that speaks the same language. The oil seeps into the hardened splatters and film, loosening their grip on the metal. It softens the edges, dissolving the old fat just enough that it stops being welded to the oven walls and becomes something that wants to slide away.
This is the step that replaces the furious, circular scrubbing that leaves your arms sore. You’re letting oil do the persuasion work. But the real magic happens when the second ingredient joins the conversation.
Ingredient Two: The Powder That Turns Sludge into Dust
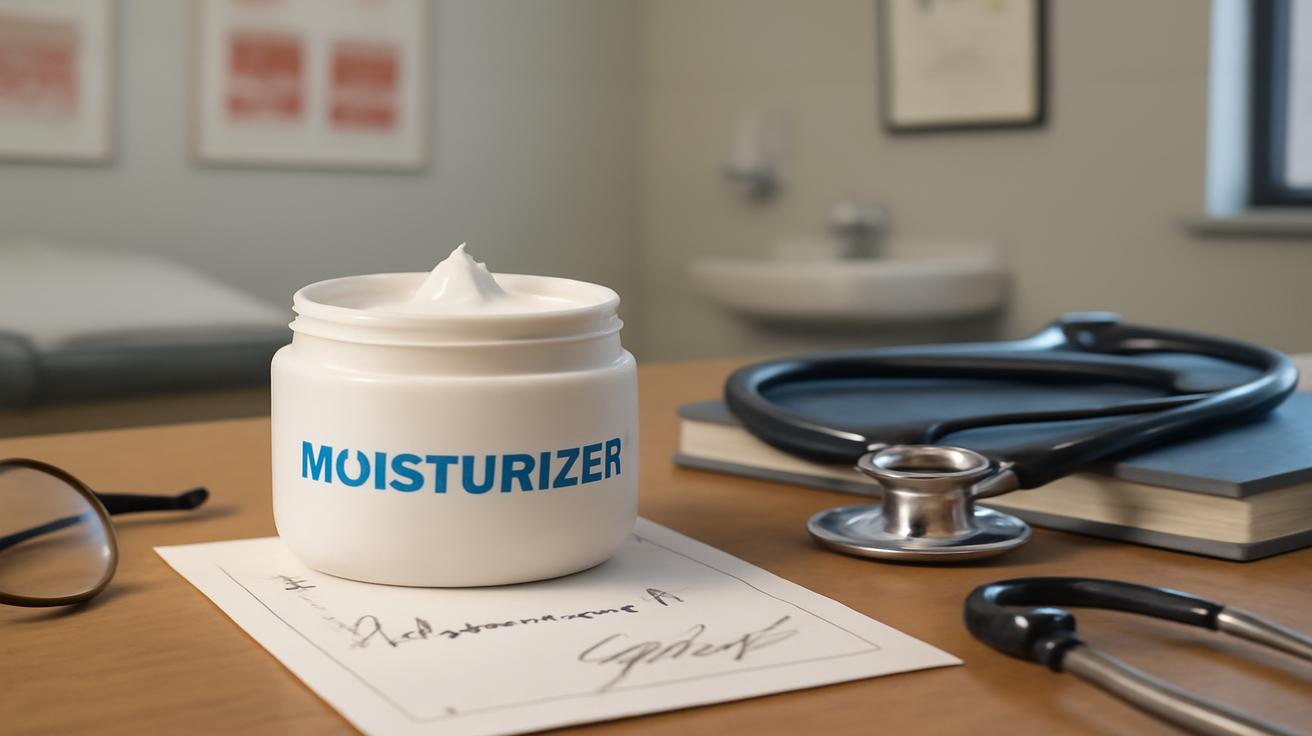
If oil is a negotiator, the second ingredient is the quiet cleaner who sweeps up after the deal is done. You won’t find it in the produce drawer or spice rack. Instead, it usually sits on a high shelf or under the sink, labeled for something completely different: oxygen-based laundry stain remover powder.
Think of the classic white granules you add to a load of dingy towels or grass-stained jeans to brighten them up—often called “oxy” or “oxygen” cleaner. It’s not chlorine bleach; it’s a powder that releases oxygen when it meets water. In the laundry, it helps lift stains from fabric; in the oven, it quietly bristles with the same kind of determination.
When you combine a small amount of this oxygen cleaning powder with a bit of warm water, you get a gentle, slightly gritty solution that loves to break apart food residue and organic stains. It doesn’t punch you in the face with fumes. It doesn’t burn your skin if you happen to splash a little. And most importantly, when it meets that thin layer of oil you’ve already spread over the baked-on grease, it creates the easiest cleaning partnership your oven has probably ever seen.
How the Two Work Together (While You Mostly Don’t)
There’s something almost luxurious about prepping an “overnight rescue” for your oven. Instead of arming yourself for battle, you’re setting the stage and walking away.
Here is what the process feels like, moment by moment:
You begin by letting the oven cool completely. The door is open now, unapologetically. You can see everything: the amber streaks on the glass, the basalt-like crusts on the bottom, the brownish shadow on the back wall.
Into a small bowl, you pour a modest amount of your neutral cooking oil—no need for anything fancy. You fold a soft cloth or a wad of paper towel into your hand, dip it lightly into the oil, and start smoothing it onto the dirtiest patches you can see. Not saturating, just a sheer, glistening film. The dried grease seems to drink it in, the way parched soil darkens at the first touch of rain.
Next, in another container, you mix your oxygen-based powder with warm water until it forms a loose, cloudy solution—more watery than paste, a little like milk with a dusting of chalk. You pour this gently over the oiled surfaces or dab it with a sponge, watching as it mingles with the oil and begins to settle into the corners and creases.
Then you do something radical: you walk away.
Over the next hour or two—or overnight, if you’re feeling patient—the oil relaxes the old grease, while the oxygen cleaner quietly works on the baked-on food and stains. There’s no harsh smell, no stinging eyes. The reaction is almost silent, the transformation happening at the microscopic level where bonds are loosened, softened, and undermined.
When you come back, the surfaces look almost…muddied. The formerly rigid patches of brown now appear blurred at the edges, a little swollen, as if they’ve lost their certainty about belonging there.
You take a clean cloth, damp with warm water, and wipe.
This is the moment that can feel almost unfair. The once stubborn patches simply slide away. Some spots might need a second pass, but instead of scrubbing with gritted teeth, you’re following through with slow, confident strokes, like erasing chalk from a board. The glass clears. The walls brighten. The metal floor, once lacquered with fossilized drips, begins to shine again.
This isn’t magic. It’s the simple cooperation of two ingredients that rarely share the same sentence: oil and oxygen powder. One loosens; the other lifts. Your hands just escort the loosened grime off the stage.
A Simple Guide You Can Glance at on Your Phone
If you’re the kind of person who likes to keep things visual and simple, you can think of the process like this:
| Step | What You Do | What’s Happening |
|---|---|---|
| 1. Cool & Empty | Turn the oven off, let it cool fully, remove racks and loose crumbs. | You’re giving yourself a clear, safe surface to work on. |
| 2. Oil Layer | Wipe a thin layer of neutral oil over greasy and baked-on spots. | Oil seeps into hardened grease, softening and loosening it. |
| 3. Oxygen Mix | Mix oxygen-based stain remover with warm water; pour or dab over the oiled areas. | Oxygen cleaner starts breaking down food residue and stains. |
| 4. Wait | Let it sit at least 1–2 hours, or overnight for heavy buildup. | Softening, lifting, and loosening happen while you do anything else. |
| 5. Wipe | Use a damp cloth to wipe away the mixture and dissolved grime. | Grease and stains release easily, with minimal scrubbing. |
| 6. Rinse | Wipe again with clean water; dry with a soft cloth. | Any residue is removed, leaving a clean, ready-to-use oven. |
The Sensory Shift of a Truly Clean Oven
There’s a small, almost private pleasure in opening an oven that doesn’t smell like anything at all. No whiff of burnt sugar or old fat, no bitter edge to the air when you preheat it. Just the neutral warmth of metal and heat, ready to become whatever you ask of it—pizza, cake, roast vegetables, a slow braise on a rainy evening.
When you’ve used the oil-and-oxygen method, the transformation isn’t just visual. It’s tactile. Your hand, sliding along the inside of the glass door, meets smoothness instead of grit. The cloth you use for a quick touch-up later doesn’t snag on rough edges of old spills. Even the sound changes: the soft hush of your hand moving across the surface becomes almost meditative, a reminder that for once, cleaning didn’t cost you an afternoon of your life.
You start to realize that this doesn’t have to be a once-a-year act of penance. Because the method is so gentle, you can repeat it whenever the oven starts to hint at a build-up—before the grime turns into something you dread. A light oil film, a sprinkle of oxygen cleaner solution, a wait, a wipe. It’s more like maintaining a favorite pair of boots than excavating an archaeological site of past dinners.
Why This Works Better Than the Usual “Good” Options
Lemon and baking soda have something powerful on their side: branding. They sound clean, natural, even a little romantic. Who doesn’t want their kitchen to smell faintly of citrus and freshly turned earth? But once you move past the poetry into real, lived experience, you notice the cracks.
Baking soda relies on physical abrasion—that gritty scrub-power that can be satisfying in a sink but grueling on a full oven cavity. Lemon relies partly on acidity, which can help on light grease but shrugs helplessly at truly baked-on, stubborn layers. Together, they make a paste that dries out quickly and can demand almost as much work to remove as the original grime.
The oil-and-oxygen duo sidesteps this arm-wrestling match. Oil doesn’t fight with brute force; it simply makes the enemy less solid, less committed. Oxygen cleaner doesn’t rely on scratching; it bubbles and breaks down, like a quiet, persistent tide eroding what once seemed permanent. You’re not attacking the oven; you’re giving time and chemistry a chance to work for you instead of against you.
That shift—from force to patience, from scrubbing to softening—changes how you feel about the whole ritual. It becomes less about punishment and more about care. You’re not fixing a failure. You’re tending to a tool you use to feed yourself and the people you love.
Small Precautions, Big Payoffs
Even the gentlest methods deserve a little respect. Before you try this, it helps to remember a handful of simple guidelines:
- Always start with a cool oven. Heat and oil together can go from helpful to hazardous in the wrong conditions.
- Check that your oxygen-based cleaner is safe for household surfaces and doesn’t contain chlorine bleach.
- Avoid saturating electrical elements or any visible seals and vents—aim for surfaces, not hidden components.
- If your oven has a special coating or is under warranty, glance at the manual to be sure there are no restrictions.
- Wipe thoroughly at the end so no oily film remains—your oven should feel clean, not slick.
With those simple guardrails in place, the method becomes something you can rely on, season after season, through holiday feasts and quiet weeknight dinners.
Living With an Oven You’re Not Afraid to Open
There’s a quiet confidence that comes with knowing the messes of everyday cooking are manageable. That a splatter of sauce or a bubbling pie isn’t a future burden, just a momentary byproduct of making something good.
When cleaning the oven no longer feels like a punishment postponed, you start to use it differently. You roast a little more boldly, letting vegetables char at the edges. You say yes to the fruit crumble that might boil over. You stop flinching every time you open the door for guests, because what’s inside is no longer a secret shame but simply a well-used tool, cared for in its own unshowy way.
In the end, those two unexpected ingredients—plain cooking oil and oxygen-based laundry powder—don’t just change how your oven looks. They change the story you tell yourself about what’s possible in your kitchen. You’re no longer someone who “never gets around” to the big clean. You’re someone who knows a quieter, cleverer way, and trusts that most of the work can be done without your hands screaming for mercy.
The oven goes back to being what it was meant to be all along: not a guilt trap behind a glass door, but a warm, open invitation to cook something wonderful, any night of the week.
FAQ
Is this method safe for all types of ovens?
For standard gas and electric ovens, this method is generally safe, as long as the oven is completely cool and you avoid soaking heating elements, vents, and electrical parts. If you have a self-cleaning, steam-clean, or specialty-coated oven, check your manual first to be sure there are no restrictions on using mild oil or oxygen-based cleaners inside.
Will the oil leave a smell when I turn the oven back on?
If you wipe thoroughly and finish with a clean, damp cloth, the oil should not leave a noticeable smell. Any faint trace that remains tends to burn off quickly the next time you preheat. To be extra sure, you can run the empty oven at a moderate temperature for 10–15 minutes after cleaning and then let it cool.
Can I use any kind of cooking oil?
Neutral, inexpensive oils work best—canola, sunflower, vegetable, or light olive oil. Strongly flavored or unrefined oils (like toasted sesame or extra-virgin olive oil) may leave more odor and are unnecessary for this job.
What exactly is an oxygen-based laundry stain remover?
It’s a powdered cleaner often labeled as “oxy,” “oxygen,” or “oxygen bleach,” used to brighten laundry and remove stains. Unlike chlorine bleach, it relies on releasing oxygen in water to break down organic residues. Check the label to ensure it does not contain added chlorine bleach or strong fragrances.
How long should I let the mixture sit for heavy buildup?
For moderate grime, 1–2 hours is often enough. For thick, old buildup, leaving the oil and oxygen solution overnight usually gives the best results. In the morning, most of the mess should wipe away with minimal effort.
Can I use this method on oven racks and trays?
Yes, in most cases. You can lay racks or trays in a large tub, coat the worst spots with oil, pour the oxygen cleaner solution over them, let sit, then scrub lightly and rinse. As always, avoid any parts your oven manual specifically warns against immersing.
How often should I clean my oven using this approach?
For a home that uses the oven a few times a week, a light version of this method every 1–2 months is usually enough to prevent heavy buildup. Spot-treating drips or spills soon after they happen will make each full clean even easier.


Leave a Comment